First Steps
This guide walks you through the minimum steps to go from a fresh SALT installation to collecting your first survey response.
1. Log in and change the default password
Browse to your server URL and sign in as admin / admin123.
Go to Users in the navigation and change the admin password immediately.
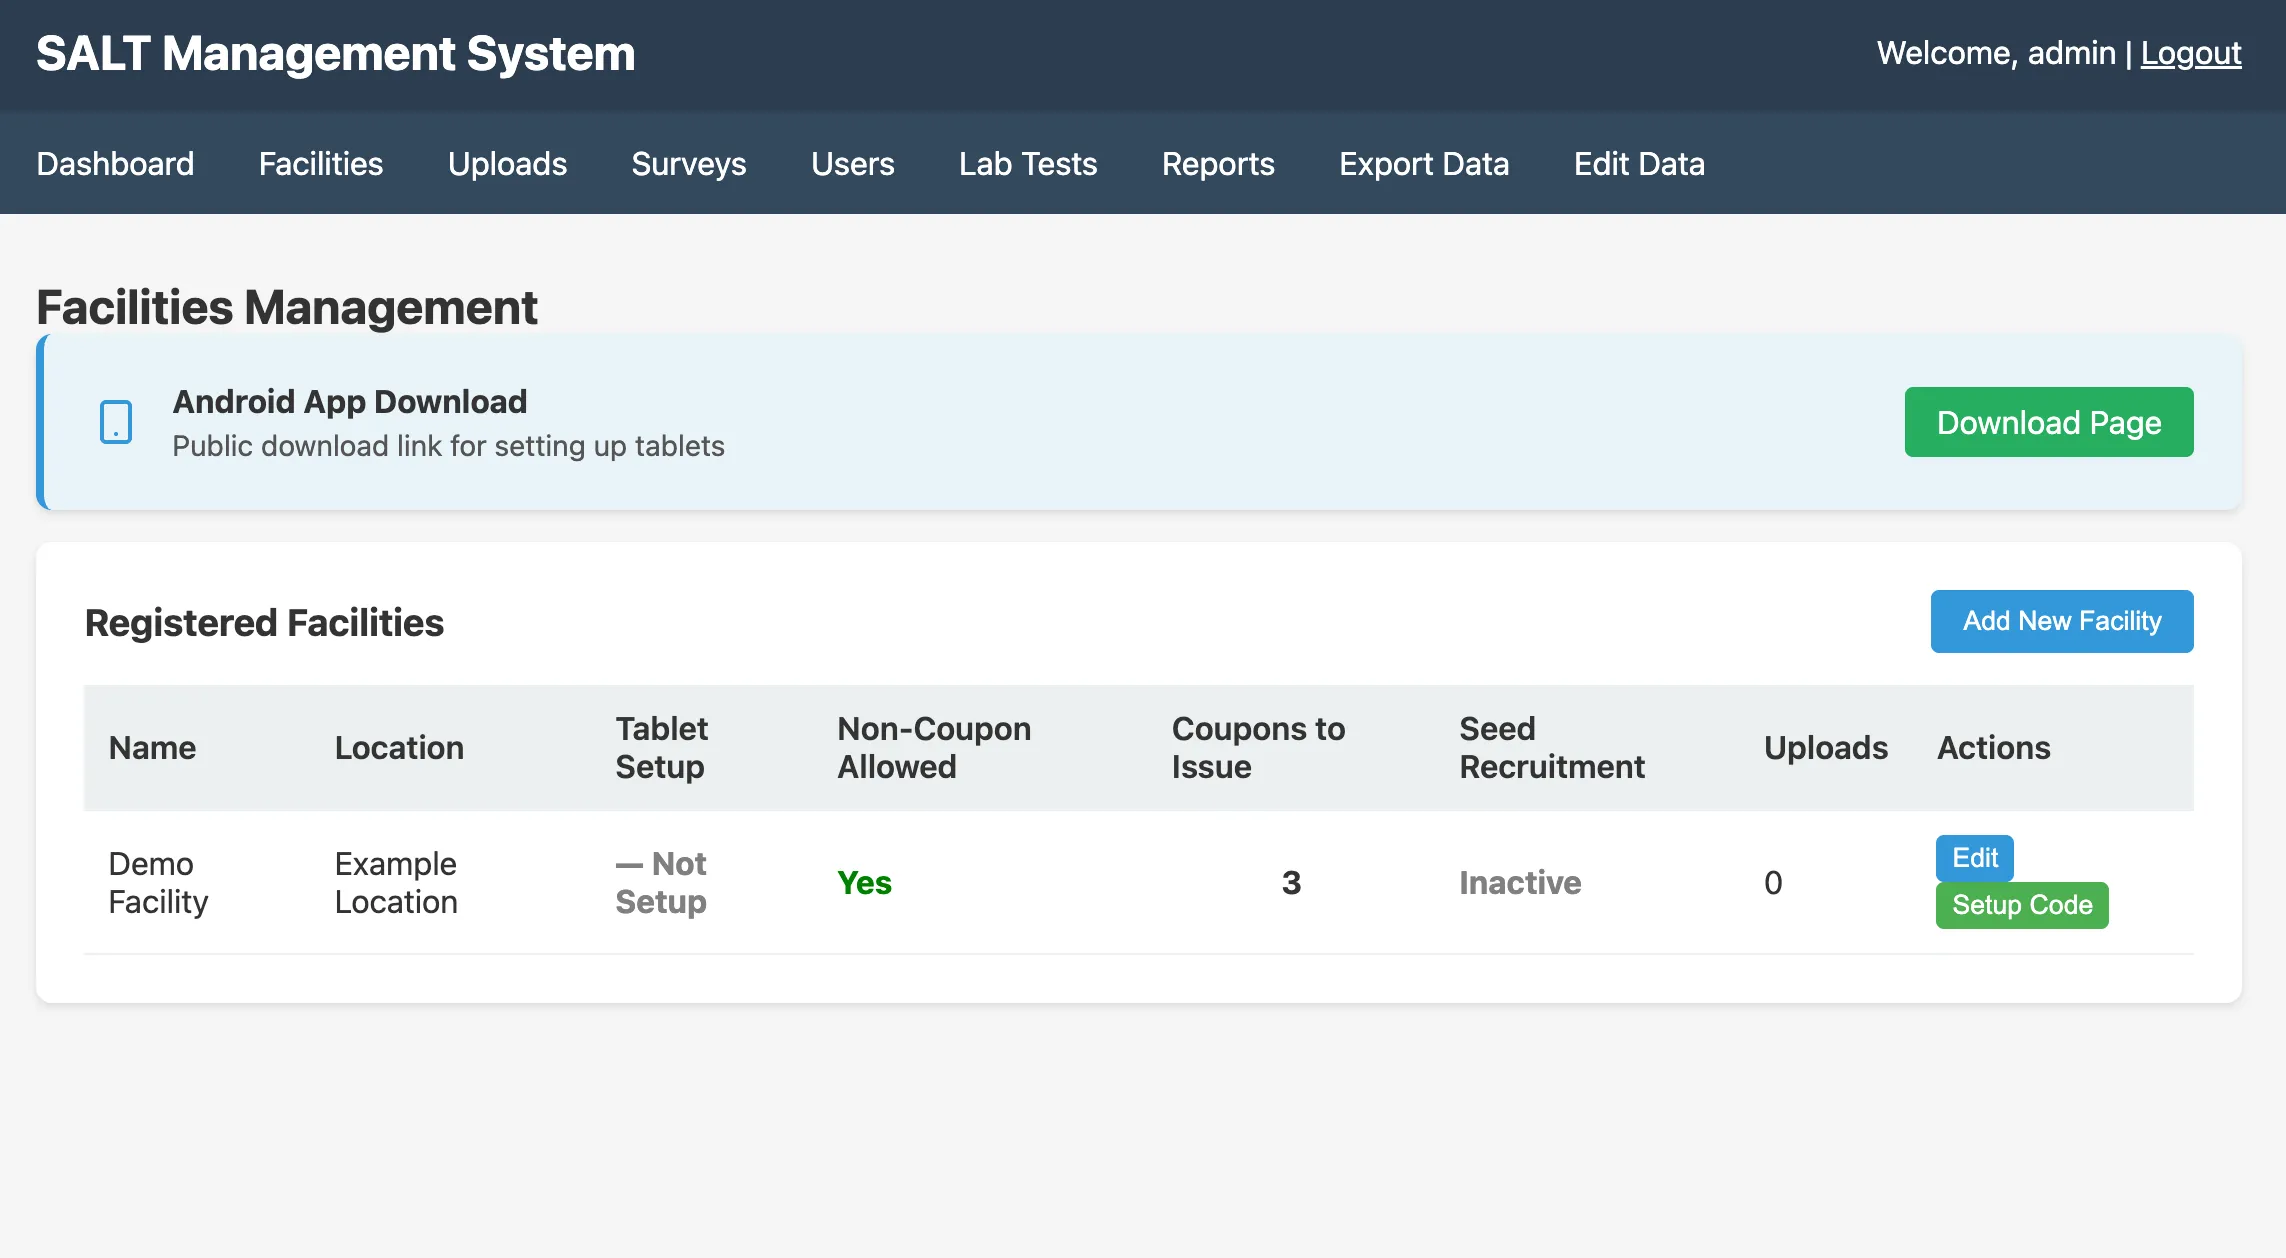
2. Review your facilities
The installation seeds one Demo Facility. Go to Facilities in the navigation to see it.
To create a real facility:
- Click Add Facility
- Enter the facility name and location
- Set the number of coupons per participant (typically 3)
- Configure payment type and amounts
- Click Save
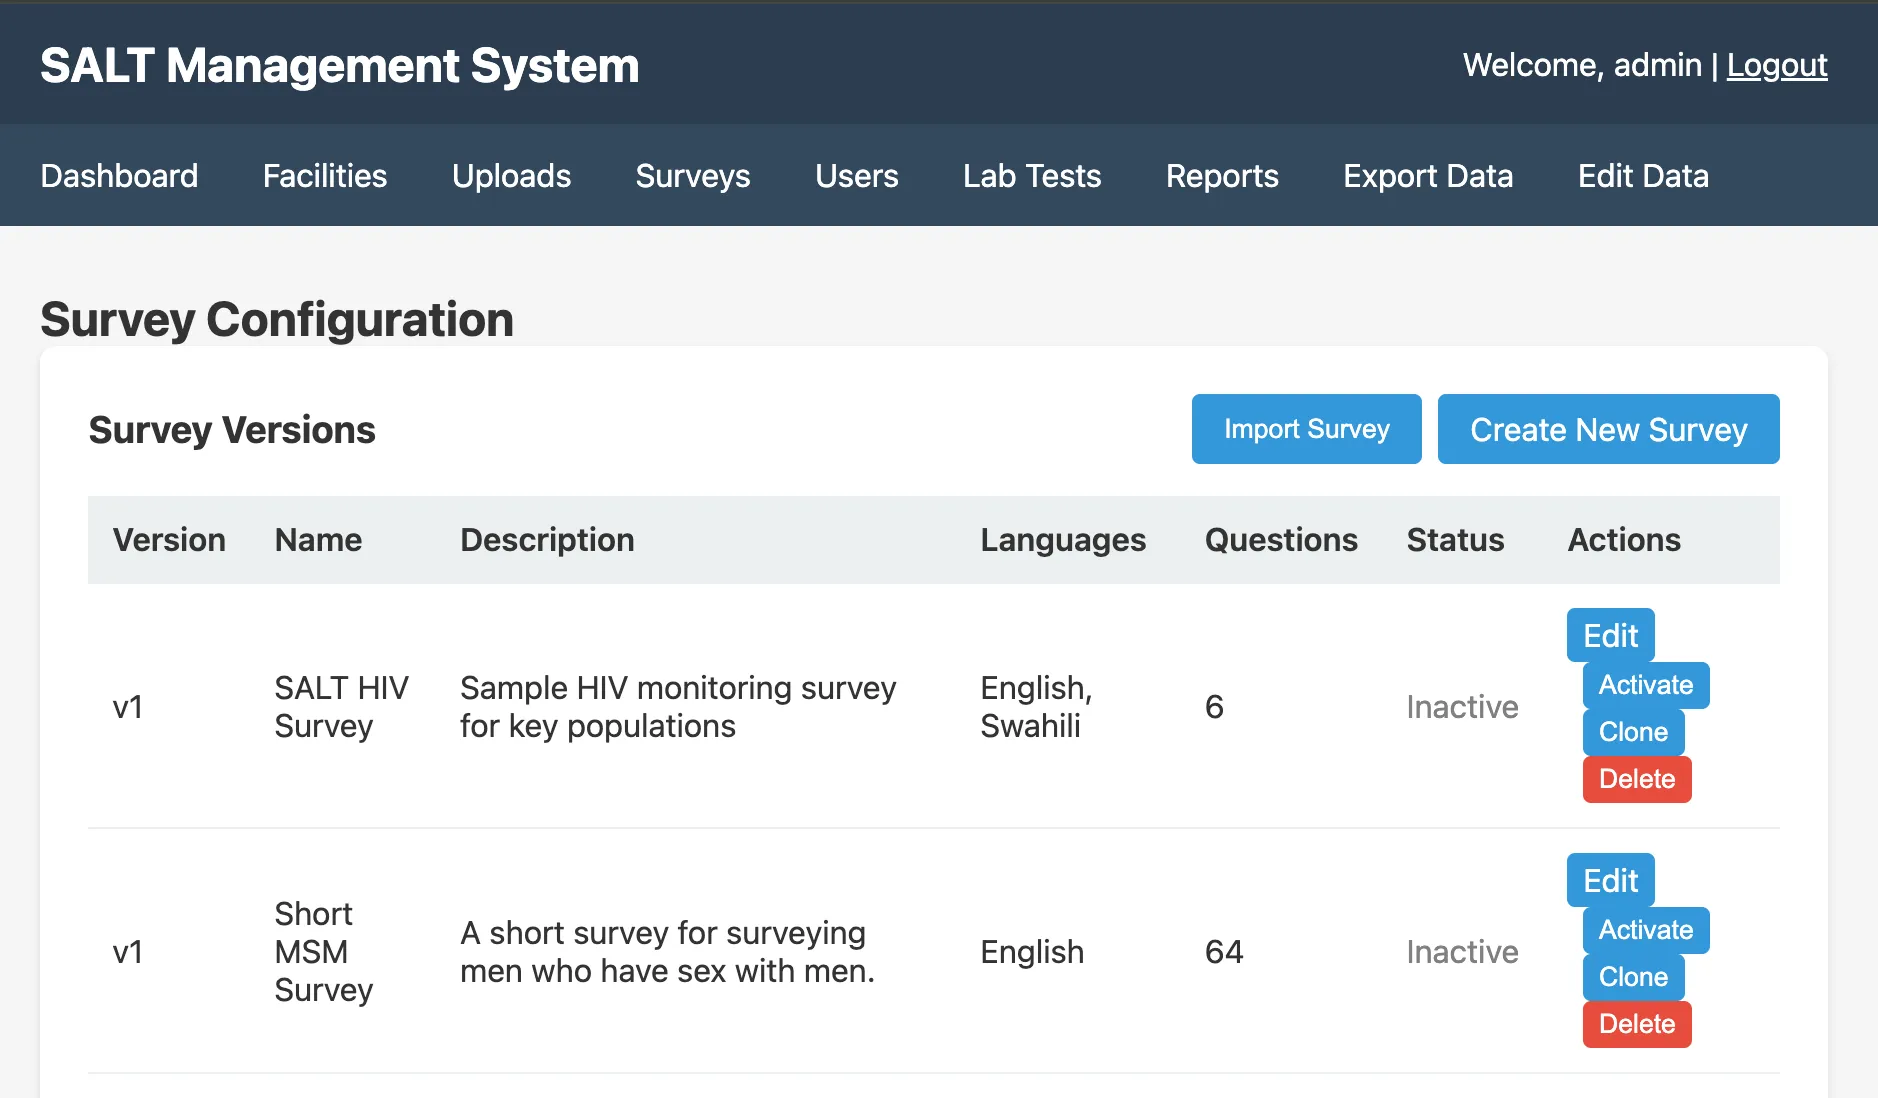
3. Configure a survey
A complete Short MSM Survey is seeded and set to active. If this survey meets your needs, you can skip this step for now.
To review or modify the active survey, go to Surveys and click the survey name to open the editor.
4. Get the tablet setup code
Before connecting a tablet:
- Go to Facilities
- Click Setup Code next to your facility
- Note the 6-character code; it expires in 24 hours.

5. Install the tablet app
On the tablet, open a browser and go to https://your-server/tablet. This page is public, no credentials required, and provides the APK download and installation instructions.
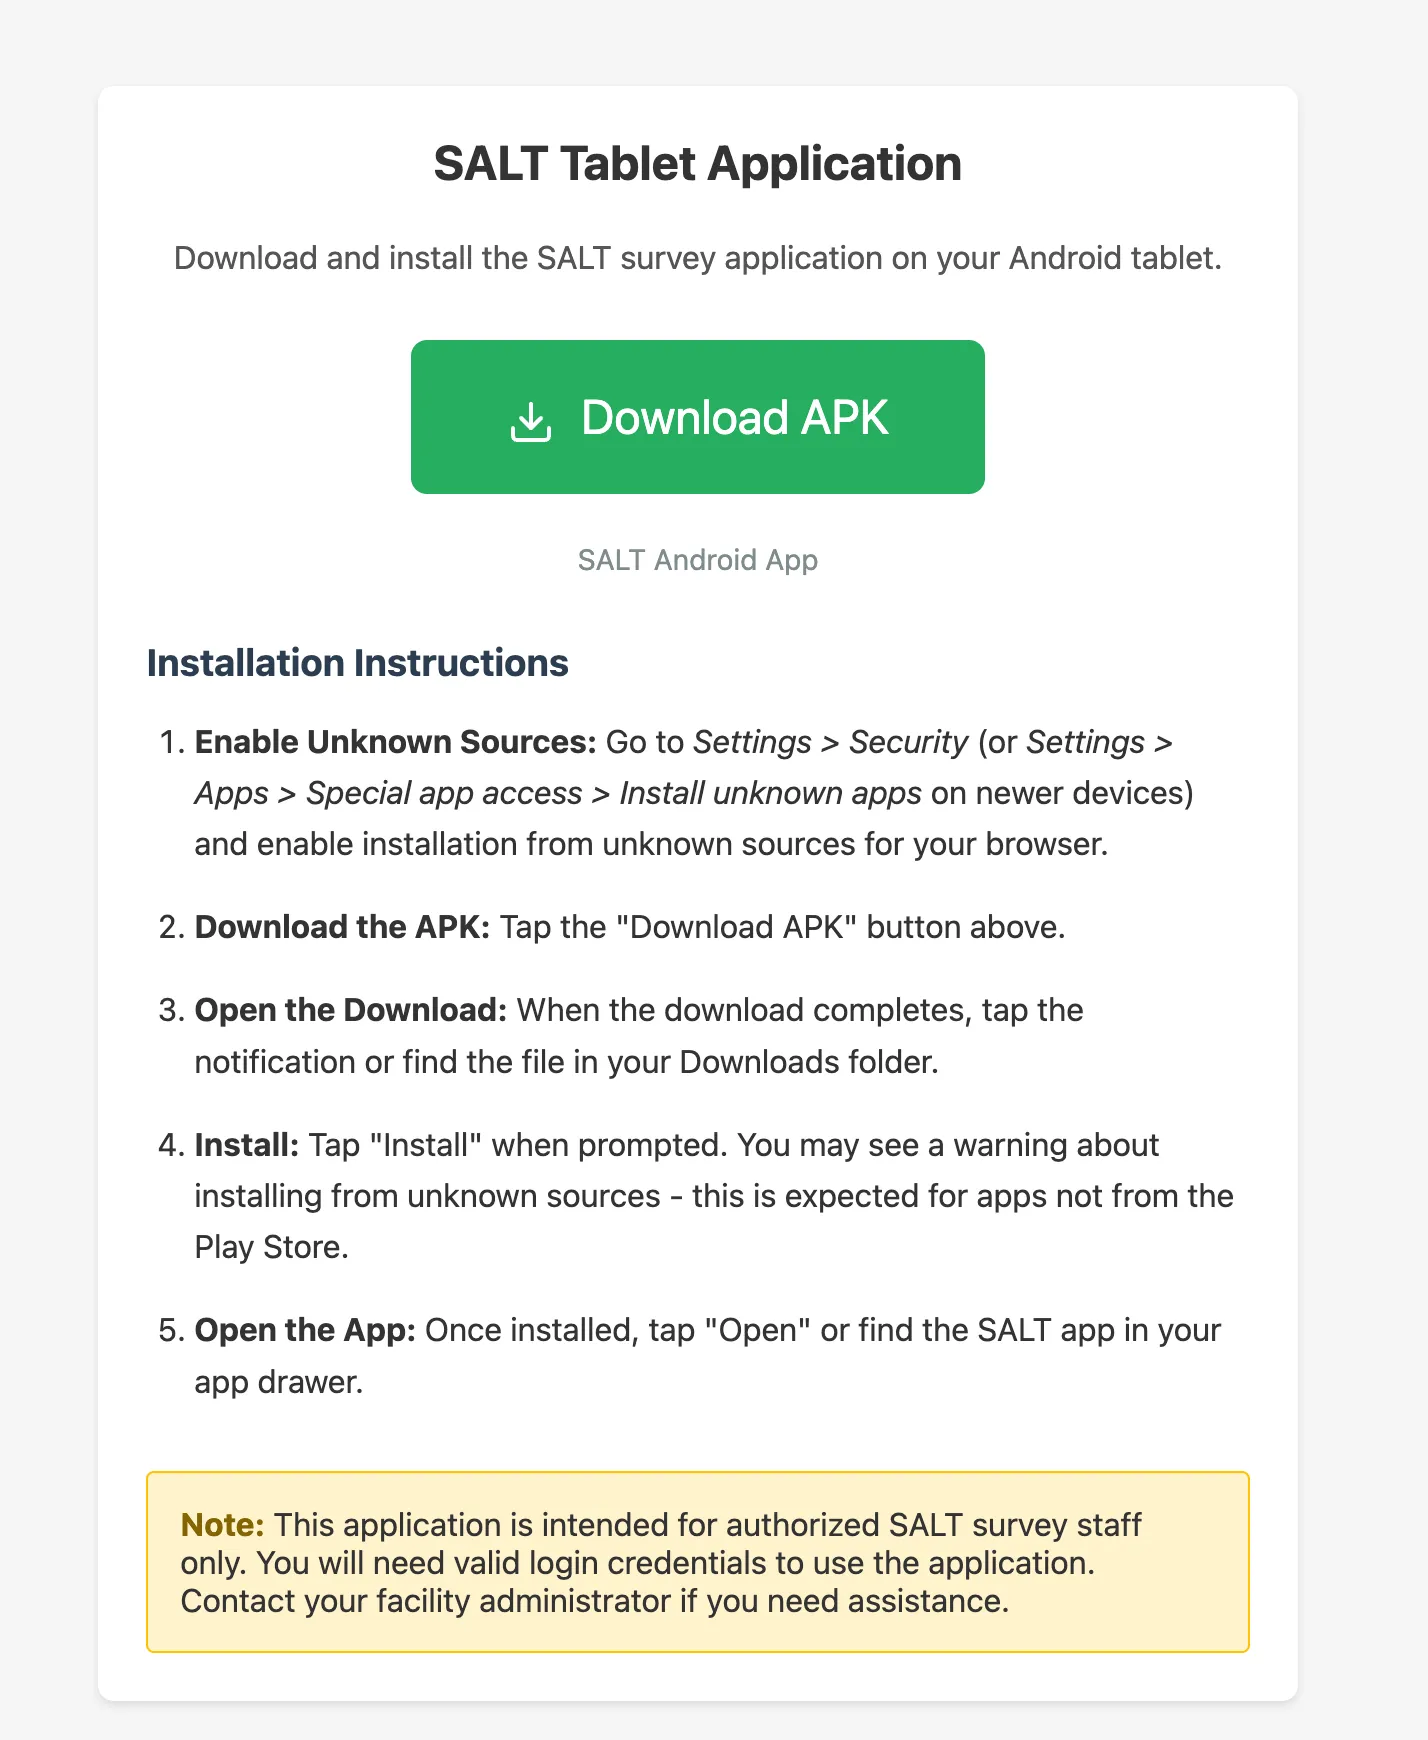
Follow the instructions on the page (you may need to enable installation from unknown sources in Android Settings → Security).
6. Set up the tablet
Open the SALT app on the tablet and follow the setup wizard:
- Server Configuration: enter your server URL (e.g.
https://your-domain.example.org) - Enter setup code: type the 6-character code from step 4
- Create admin account: set a username, full name, and password for the tablet administrator
- Fingerprint enrollment: enrol the administrator’s fingerprint (or skip to use password-only authentication)
The tablet will download the active survey and facility configuration from the server.
See Tablet Setup for detailed instructions.
7. Create a staff user
Surveys can only be conducted by SURVEY_STAFF users; administrators cannot conduct surveys directly. On the tablet:
- Log in as the administrator
- Tap Manage Users
- Tap + to add a new user
- Enter username, full name, password, and set role to SURVEY_STAFF
- Tap Add User
Alternatively, survey staff can also be created from the tablet admin dashboard.
8. Conduct a test survey
Log out of the admin account and log in as the staff user you just created. Tap Start New Survey and walk through the eligibility questions and survey interview. At the end, approve payment and submit.
The completed survey will upload to the management server automatically when the tablet is online. Check Uploads in the management dashboard to confirm it arrived.
Next steps
- Facilities: configure recruitment windows, payment types, coupon limits
- Survey Questions: add or modify questions
- Survey Logic: skip logic, validation, and eligibility conditions
- Export Data: download data in wide, long, or RDS format